 |
| This is the bathroom before I started
One benefit of this room is it has no window, but does have an extractor fan. I found that making the door light proof was the biggest challenge. I hung a curtain rail and curtain on the inside of the door but still found there were some light leaks. I used some draught sealing foam around the door and that improved things. I purchased some darkroom equipment of eBay (trays etc) which included a blackout curtain so when I use the darkroom I hang that on the outside of the door too. I'm pretty sure its lightproof now.

The darkroom almost complete
I used a piece of kitchen worktop to make the work surface, supported against the wall on two sides and a single leg on the right front of the worktop. The work top is 60" long, which is only just long enough for the enlarger and 3 trays. Based on advice I received I also put up some black paper around the enlarger to reduced light reflected from the negative carrier.
Final completed darkroom
In use the darkroom is only just big enough really, any smaller would be quite difficult to use. The wash basin is a bathroom style and not really big enough. I home made a print washer using a 'Tupperware' style plastic box and a rubber shower attachment with the shower head cut off.
So far I have used the darkroom only a couple of times. The process of producing prints is quite complex but then end results are very pleasing. It takes me quite a while to get the exposure timing right, having to produce 2 or 3 test strips to find the right exposure. I find different films need very different exposures so I take notes as I try things so I can refer back to them later.

Scan of my first successful print (after several attempts!)
If you are thinking of building a darkroom you can find all the equipment you need at very low prices on eBay.
|
Saturday, 24 May 2014
Building a Darkroom
Tuesday, 4 February 2014
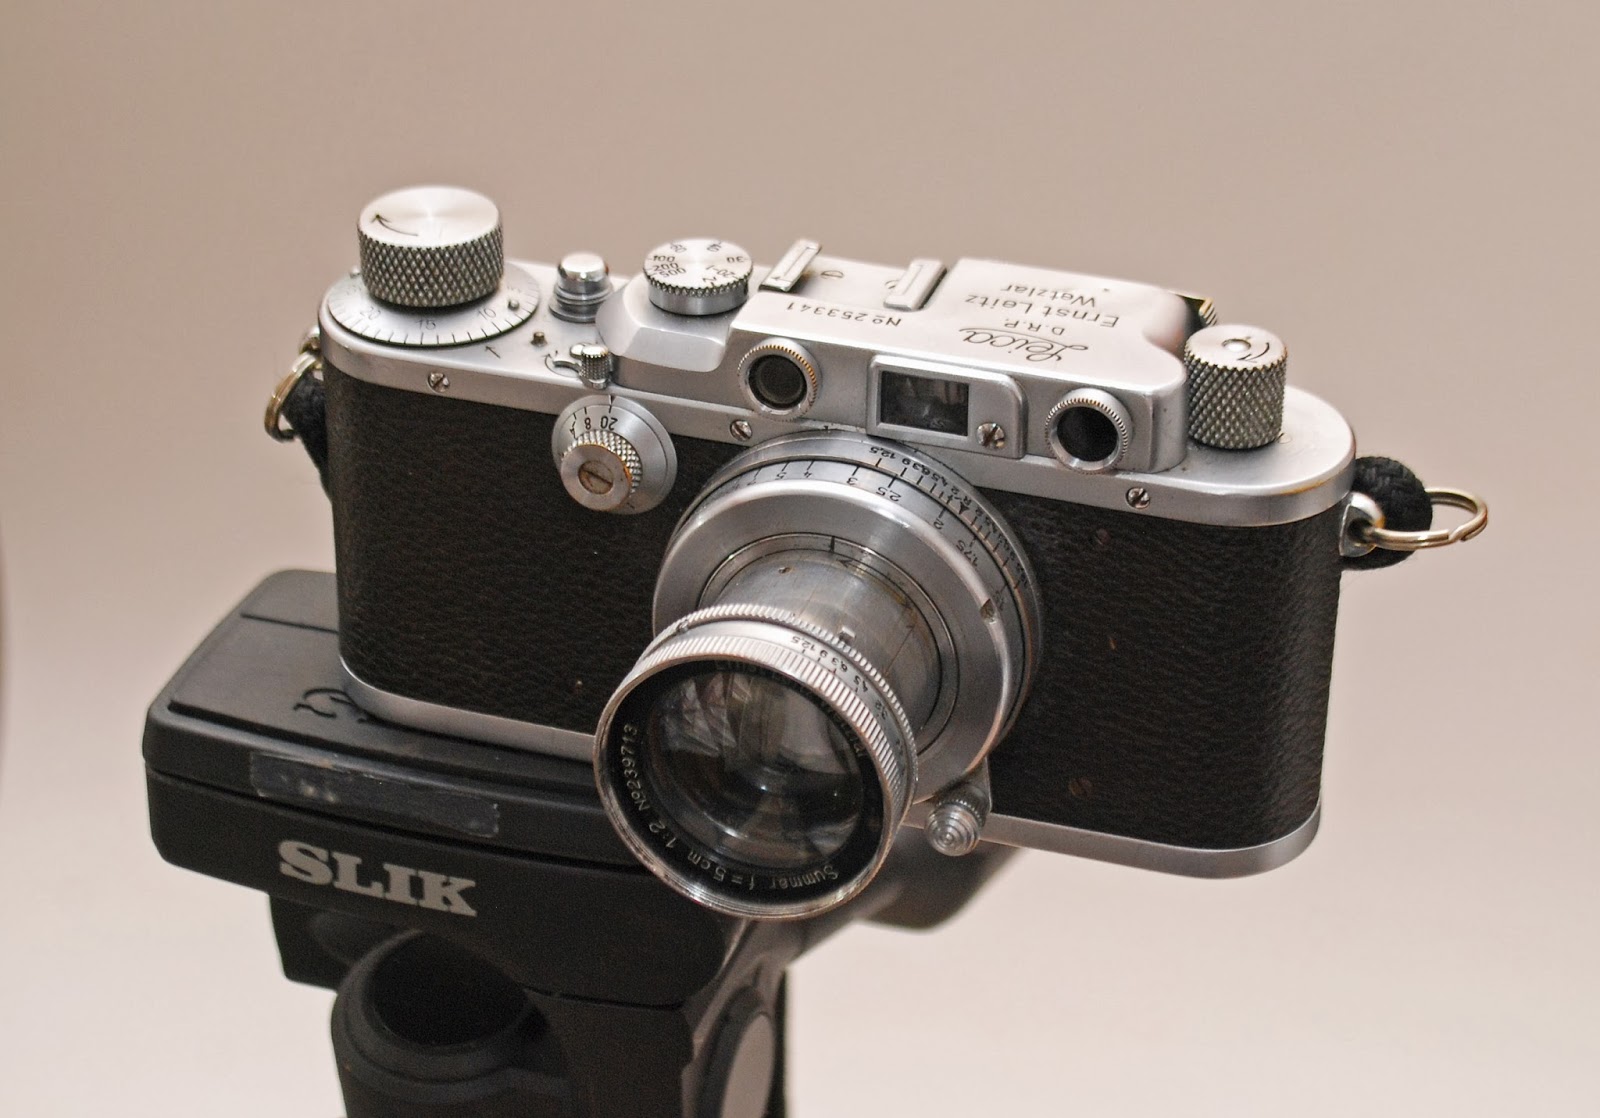
1937 Leica III
My 1937 Leica has been on the shelf for too long, fitted with the F2 Summar its a beautiful instrument.
However my first attempt at using it ended in failure. It is fiddly to load a film in the camera and I ended up with the film not winding on properly and a small piece of torn film lodged in the mechanism. This can be awkward as unlike SLR cameras you can't get to the back of the focal plane shutter. However by removing the lens and setting the shutter on 'B' I was able to get the film piece out with tweezers. The instructions for loading the film are printed on the underside of the base plate:

You need to cut the film leader as shown and then slot the film and the removable spool back into the camera. This shot shows the film and spool being inserted back into the camera:

The Summar lens is really sharp, as this test show shows:

However my first attempt at using it ended in failure. It is fiddly to load a film in the camera and I ended up with the film not winding on properly and a small piece of torn film lodged in the mechanism. This can be awkward as unlike SLR cameras you can't get to the back of the focal plane shutter. However by removing the lens and setting the shutter on 'B' I was able to get the film piece out with tweezers. The instructions for loading the film are printed on the underside of the base plate:
You need to cut the film leader as shown and then slot the film and the removable spool back into the camera. This shot shows the film and spool being inserted back into the camera:
I'm off the Turkey next week, and I will be taking some shots with the Leica.
Subscribe to:
Posts (Atom)